What is a Hydrosol?
Hydrosols, Hydrolats, Flower water, Floral water, there are many names that over time have all come to refer to generally the same botanical product: aromatic and botanical medicine-infused water. The centuries-old term, Floral water, is no longer entirely accurate since today these fragrant, therapeutic waters can be made using many different aromatic plant parts, including flowers, but also leaves and needles, fruits, gums, resins, seeds, woods and bark.
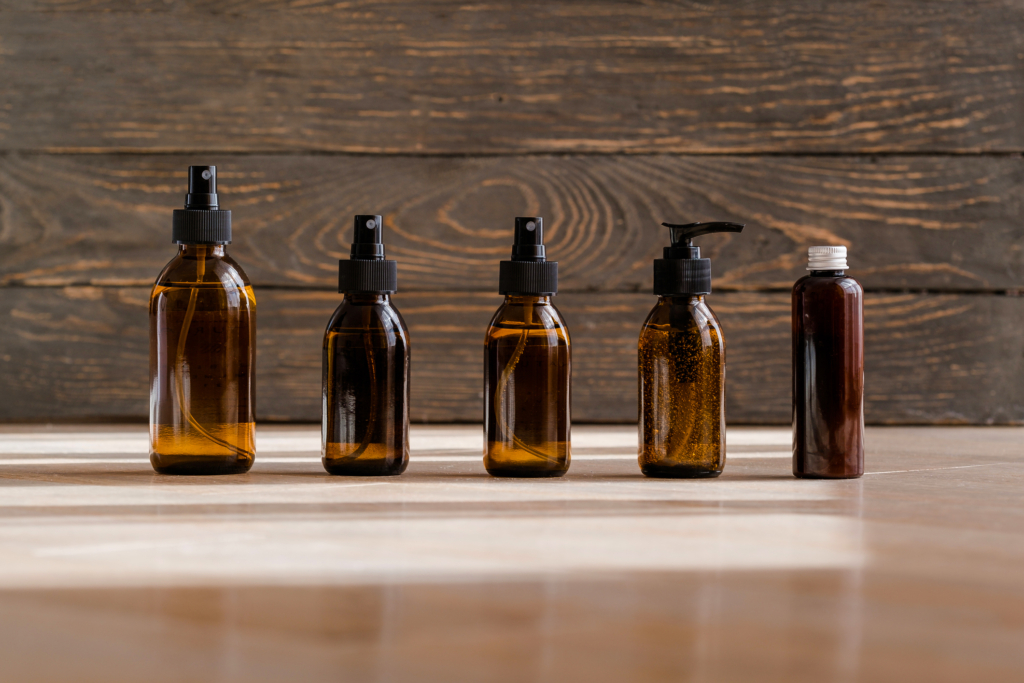
Hydrosols are dynamic medicines, ranging in benefits that address the physical, mental, emotional, and spiritual aspects of our health. They’re also quite versatile and are used in many types of medicinal, skin care, and beauty products, as well as for uplifting and healing the psyche and emotions. Rose water is one of the most well-known and widespread hydrosols; it’s commonly used as a body spray and facial toner for its anti-inflammatory and cooling properties.
Let’s explore the history of hydrosol, how it’s made, and the many ways you can use it at home or in your own DIY botanical products. We’ve also added a step-by-step guide for distilling your own hydrosol without professional equipment at the end of the article.
The History of Hydrosol
Alchemists have been using botanical waters medicinally for thousands of years. Interestingly enough, early on during the process of acquiring hydrosol through steam distillation, the essential oils distilled as a by-product were sometimes discarded by those who held a deeper regard for hydrosol! Over time, the medicinal benefits of both hydrosols and essential oils were more understood, and now both are produced and captured for medicinal use through various methods of steam distillation.
Plants are often distilled solely for obtaining hydrosol, with the essential oil being a by-product, and sometimes it's the other way around. The distillation methods for obtaining essential oil and hydrosol are slightly different however, which results in a difference in quality of the hydrosol produced. Typically, when the distillation method is focused on making a hydrosol, a higher quality product is produced, whereas the method in which the hydrosol is the by-product, leads to lower quality.
It’s also common to find essential oil mixed into water or Witch Hazel that’s being marketed as a hydrosol. But these products are not the same, and are inferior compared to purely distilled hydrosol. That’s why it’s important to research the companies you’re considering buying hydrosol from.
The Distillation Process
When distilling a plant to obtain its essential oil or hydrosol, a good amount of plant material is needed, depending on how much end product you’re looking for and what type of equipment you have. This can range from a half of a pound of plant material for small, at-home production, to hundreds of pounds for a more commercial process using a large still.
To make a hydrosol, essentially, water is heated and boiled in a still, and as the hot steam makes its way up into a chamber containing the plant material, the heat and moisture unlocks the plant’s volatile compounds (essential oils), and water soluble organic chemicals, and carries them through to another vessel that collects the aromatic infused water. The end result is herbal water that has a small amount of essential oil floating on top, which can easily be separated - leaving you with hydrosol and essential oil.

The Many Uses of Hydrosol
Hydrosols have dynamic uses in both aromatic and topical medicine, and can also be used in beauty products and for enjoyment. They’re most commonly used as a spray for a wide variety of things, such as facial toners, body sprays, room fresheners, and in aromatherapy, first aid, and topical healing for aches and pains. And if you’re into making DIY botanical products, they can be incorporated into lotions, cremes, hair care and anti-aging products, cleaning products, and just about any other beauty or therapeutic product that calls for water. They’re also safe to ingest and can be added to treats or desserts, like Lavender mousse, or Neroli (Orange blossom) rice pudding.
If you’re an incense crafter, you know that water is a very important ingredient in most incense making, since it helps to meld aromatic elements, ingredients, and aromas together. It also helps to activate the gum binders, or natural glues,to assist in shaped incense creation, like cones or sticks. If you haven’t already, try using a single or blend of hydrosols instead of water the next time you craft incense - you can really tell the difference!
Though essential oils are marketed as being ingestible medicines, they can in fact be quite dangerous when taken internally as they are extremely potent chemicals. Contrary to common belief, they should never be ingested unless under close supervision of a trained medical professional, in very rare and severe medical situations, and in very tiny amounts on top of that. Hydrosol, on the other hand, is considered generally safe to ingest for most people; though it contains trace amounts of essential oils, it’s known as a pre-diluted, gentle medicine.
Hydrosol is considered a much safer botanical medicine choice than essential oils and can generally be used by the elderly and children. Unlike most essential oils, hydrosols are also safe to use around pets. They also cover a wider range of health benefits than essential oils because they contain hydrophilic plant compounds, which are water soluble organic plant chemicals that can promote well-being. So depending on your health needs and your personal care regimen, hydrosols can play an important role in your at-home health care.
Conclusion
Now that you know the history of hydrosols and their healing potential, we hope that you feel inspired to incorporate them more into your life, whether it’s in your incense crafting, a botanical product you make, or simply on their own. Just make sure you source from companies dedicated to making high quality, distilled hydrosol, or consider making your own hydrosol at home using the step-by-step guide below.
How to Make Your Own Hydrosol
Without a Professional Still
What You’ll Need
- Fresh aromatic plant material of your choice
- Knife or scissors
- Cutting board
- Large pot (glass, enamel, stainless steel, or copper)
- Lid that fits the pot (should have some kind of incline from edges to center of lid)
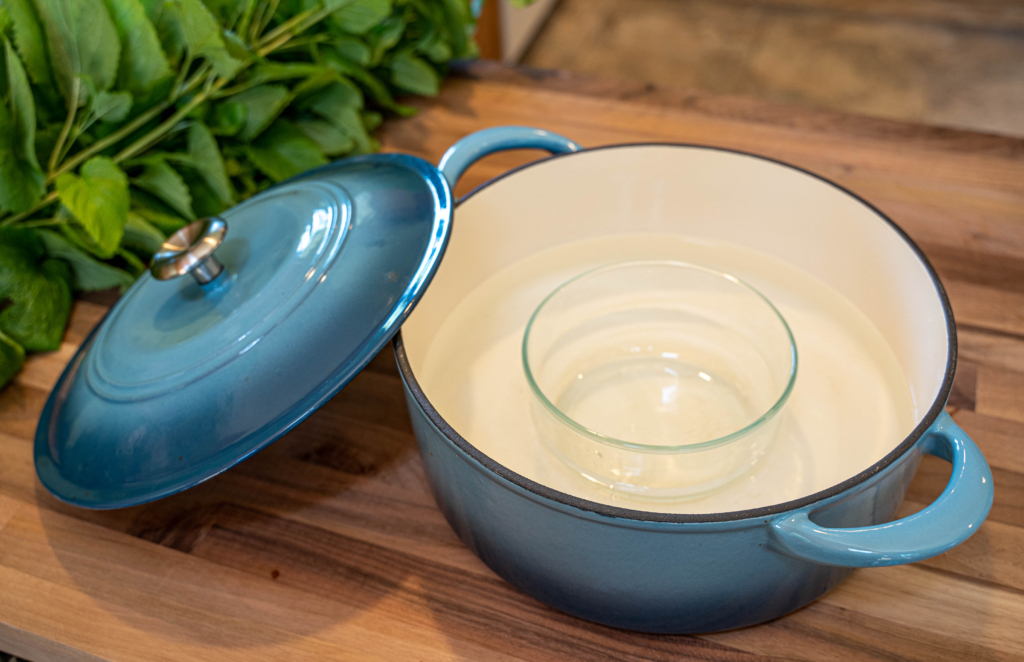
- Small glass bowl that fits inside the pot
- 1 large flat, cleaned rock (1" - 1.5" thick), or a few smaller rocks, or a thin brick, or a canning pot rack
- Filtered or distilled water (or high quality well water)
- 1 gallon ziplock bag of ice
- Mason jars or spray bottles

Directions
1. Make sure all of your equipment is clean prior to use. Rinse your plant material as well. You do not want any foreign matter somehow finding its way into your hydrosol.
2. Place the small glass bowl inside of the pot on top of the large flat rock, thin brick, or balanced evenly on the small stones, or place it directly on the bottom of the pot. The rocks serve as a barrier between the glass bowl and the pot and are an added measure of safety, though optional. Alternatively, if you're using a canning pot, place your canning pot rack in the bottom of the pot and place your glass bowl on the rack.
3. Cut up the plant material.

4. Add the herbs to the pot and cover with water until all of the plant material is submerged, keeping the water level 1 inch below the rim of the glass bowl. You can push the plant material down under the water to compact it.

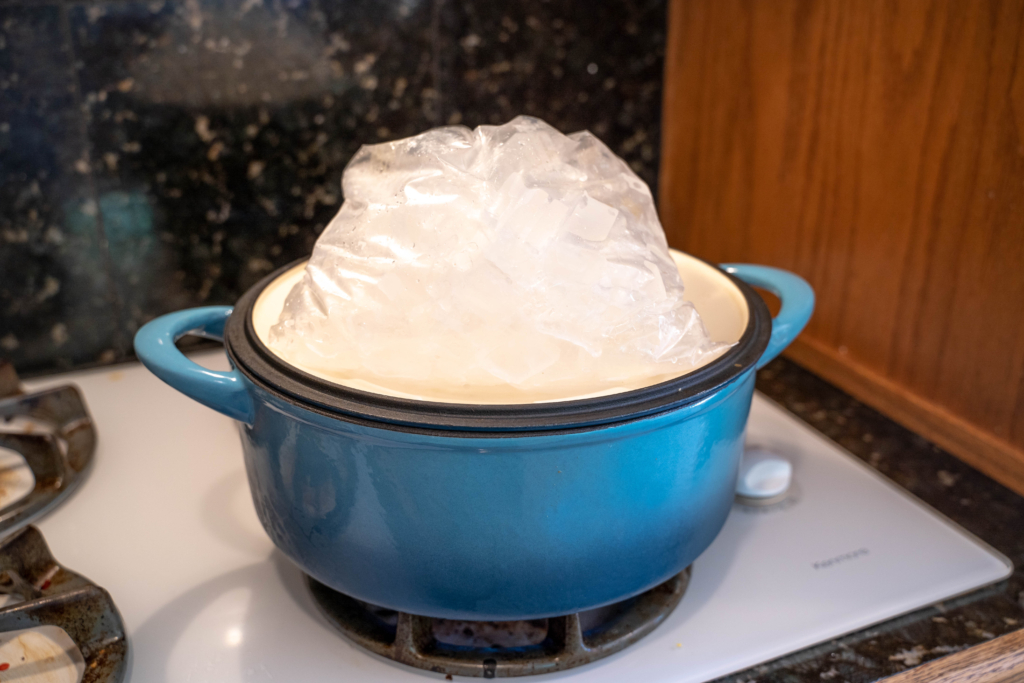
5. Put the lid on the pot upside down and slowly bring the water to simmer. You do not wan't the water to boil and the plants to get too hot. The lid is placed upside down so that as the water evaporates, it condenses and flows onto the lid handle and drips down into the small glass bowl.
6. Once simmering, turn your stove burner down to the lowest setting.
7. Place the bag of ice on top of the upside down pot lid. The ice helps to decrease the amount of time it takes for the steam to condense back to water.

8. Check your water level in the pot every so often to make sure you don't run out of water. You can add more in slowly if need be.
9. Your distillation time may vary depending on how much plant material you have, and how large of a pot and glass bowl you have. Generally, I'll allow a distillation of the size displayed in the images to run for an hour to 1 and a half hours. Though you can certainly run it for longer. This will give you about a pint-sized mason jar full of hydrosol. Which can last you a while, depending on the intended use. Just be sure to keep an eye on the growing hydrosol amount in your glass bowl. You don't want that overflowing!
10. Once your distillation is complete, turn off your burner and let everything cool down to room temp.
11. When cool, lift the glass bowl from the pot and pour your hydrosol into storage containers. Make sure to label it with the plant you used and the date. Depending on the plant, hydrosols can stay good from anywhere between 4-8 months when kept in the refrigerator, which prolongs their shelf life. Though you can also store them at room temp or add them to your favorite medicine preparations, aromatic creations, or beauty products.
Enjoy using your new aromatic hydrosol!
Tip: Be methodical when checking on your distillation. When you take the lid off, check to make sure distillation is happening and steam is being produced, check your water level, and check the hydrosol level. Each time you open the lid, you allow aromatic medicine to escape.

© 2021 The Northwest School of Aromatic Medicine. All rights reserved.
*The statements above have not been evaluated by the FDA, and are for educational purposes only. This article is not intended to diagnose, treat, cure, or prevent any disease. This article should not be taken as medical advice. Please consult your physician before you use this information for health purposes.

